Gran Vilaya Trek (Sans Guide)
My friend and I recently completed the Gran Vilaya Trek from Chachapoyas, Peru to the Kuelap ruins. Guided tours cost 600-800 Soles which seemed really overpriced so we decided to do it unguided. We found 2 itineraries online but they are outdated (7-years old and 3 years old). Here's an updated guide for anyone interested in this amazing trek!


Notes before getting started
Google maps and All Trails didn't have the paths marked but Maps.me did. Make sure to download the offline maps ahead of time as you won't have internet for the entire trip.
As noted in the other guides, there’s electricity at all stops on the trek so no need to bring your power banks.
We did this trek in October which is the start of the rainy season. It rains multiple times per day and usually storms once per day in the early afternoon. You will get wet. Bring quick-drying clothes and good boots. I did it in trail running shoes and my feet were wet the entire time. I would not recommend.
Bring evening clothes to change into and sleep in. It gets cold at night in the mountains so bring a jacket.
The mountains are full of microclimates. A 10-meter walk can change the temperature by 5* C
Signs with distances or times are usually wrong. They are not reliable guides.
Day 1: Chachapoyas => Cohechan
Colectivo ride to Cohechan through Luya (2.5 hours)

Walk to the colectivo station and ask around for Luya. They'll point you out the back of the main building. The colectivo will wait until it's full before leaving. (7 soles)
When you arrive in Luya, tell the guys playing cards you're going to Coechan (7 soles). They'll tell you to wait until they can fill a car of people (6 or 7 people). We waited about an hour.
There's a 50 centimos fee to use the bathroom here
The restaurant in the main building is barren but has a decent cheap lunch.

Eating lunch while waiting for colectivo in Luya
We asked the driver of the Colectivo to take us to a hospedaje and he dropped us at the yellow house by the main plaza. Apparently there is a second hospedaje in town but it's just a family's house.


We paid 10 soles each to stay here but given the condition of the place I kinda wish we had negotiated a bit. I definitely left with lower standards than I started.
There are no mosquitos up here because of the altitude but it gets really cold.
Walk to Karajía (2 hours each way)

We spent the afternoon walking to Karajía to see the Sarcophagi (5 soles entry). It's pretty easy to find. There are two roads through Cohechan on either side of the plaza. Take the higher road where the hospedaje is. Walk uphill until you reach the fork in the road. There’s a sign for Karajía to the right (AM-655), Belen Valle is to the left (you'll follow this one tomorrow).
The walk to Karajía is 8km each way. You'll walk through 3 or 4 villages on the way. There are signs with distances to Karajía but as best we can tell they were completely wrong.
You’ll reach a square where the Karajía registration office is. After that you’ve still got another 1km to the site of the Sarcophagi.


Day 2: Belen Valley, Cloud Forest, and Congon
Road to Belen Valle

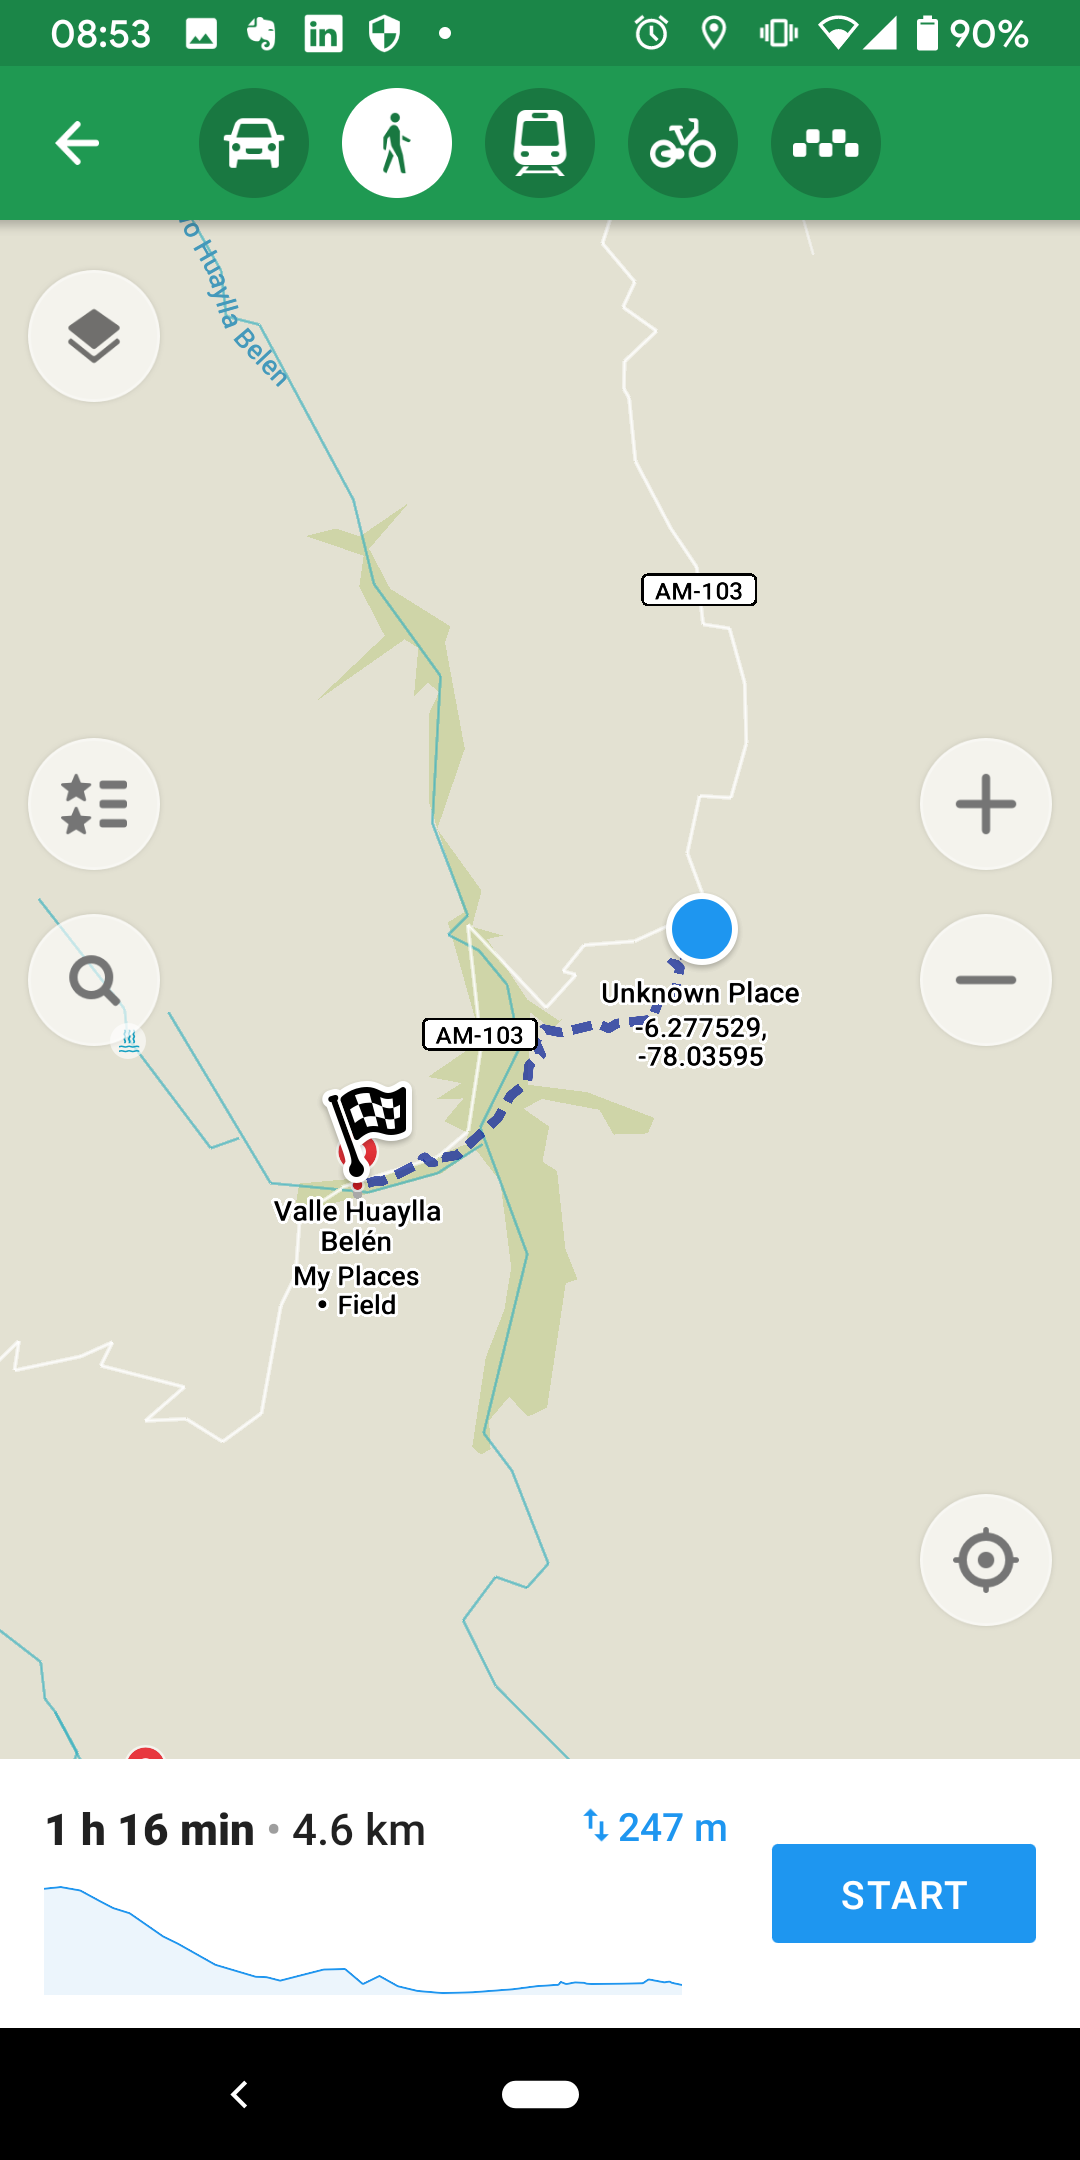
Supposedly there are cars that leave from Coechan to Belen Valle in the morning, but every person we talked to had a different idea of when they left. We were up at 4:15am and didn’t see a single car
Both people we asked in the morning told us to just start walking and hitchhike. Start walking down AM-103 towards Belen Valle. You want to hitchhike because otherwise it's a long road with a lot of mud. We walked for an hour (5km) before any cars passed us going our way. We started in the dark so make sure to bring a headlamp. If you don't get a ride, it's a 19km walk down the muddy road and into the trail in the valley.
About 2 kilometers after crossing the river you'll come to the sign that marks the trailhead


According to Maps.me, there's an earlier part of the trail you can take if you want to walk through the valley
First part of trail that we skipped. Another hiker told us you have to walk through the river and you will get wet.
Cloud Forest and the Road to Congon
The trailhead says the first day's trail is 13.3 km and 6 hours but it's less. Maps.me says 9.2KM and it took us 4 hours. You'll end up in Congon.
The first part of the trek is easy and warm but beware of the dangerous attack cows

So ferocious
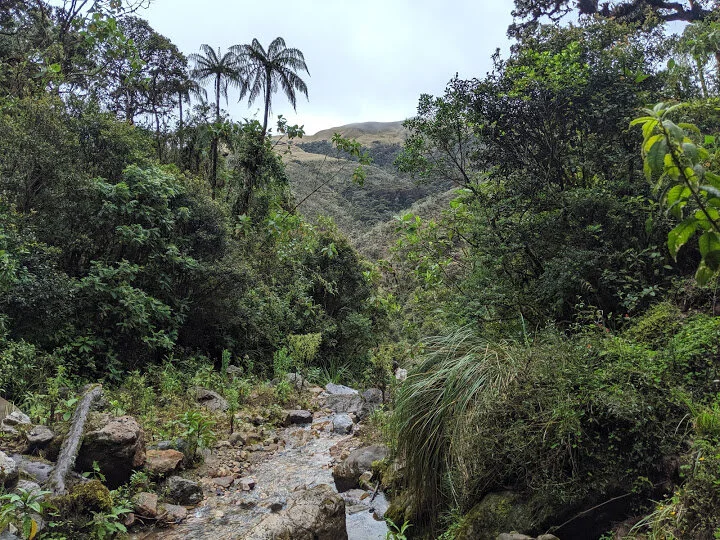
Once you get to the cloud forest take your time. It's extremely slippery and the rocks here are not your friend. Simone took a pretty hard fall pretty early on and took home a solid bruise as a souvenir! The cloud forest looks like Yoda's swamp on Dagobah.


There's a lot of cow poop on the trail. I mean... a huge amount.
There are only about 100 meters of really muddy section but it's REALLY muddy. It's also a serious breeding ground for mosquitos so don't forget your repellant.
The rest of this hike is a pretty easy and quick downhill.
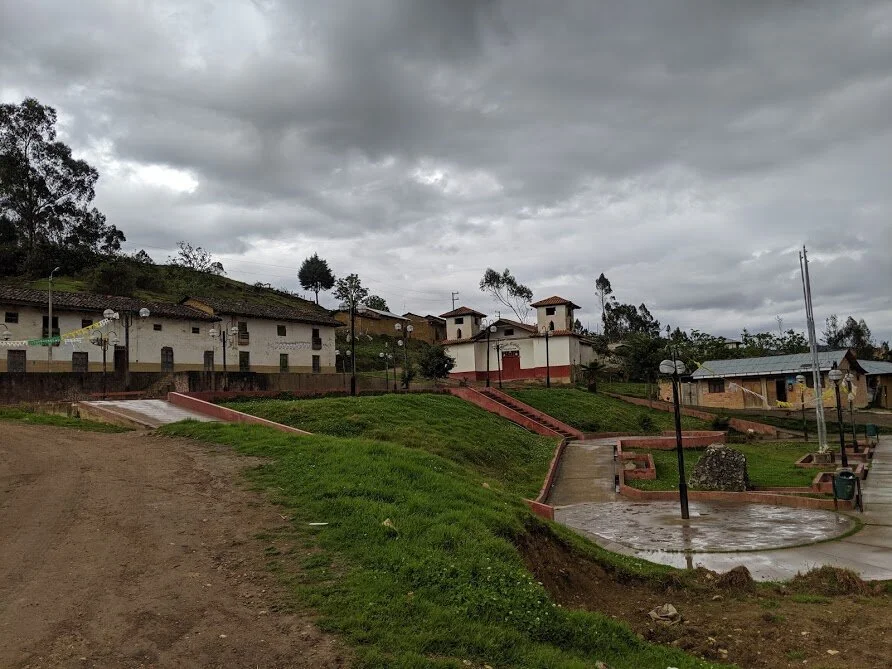
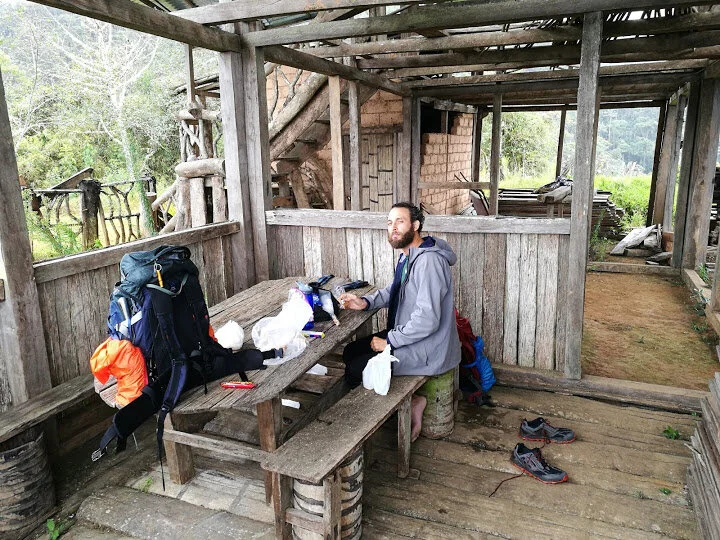
Once you arrive in Congon, look for the big white house across from a small blue house. This is Armando's Hospedaje. The blue house is the restaurant and convenience store run by Armando's wife. Stock up on supplies here if you need them. Cost for the Hospedaje is 10 soles per person. There's no other place in town so there’s no negotiating.


Make sure to try the local delicacy Cuy! (20 soles per person)


Day 3: The long, hard trek to Yumal

15KM, 1600m ascent, 7.5 hours
The trailhead sign says this is 18.6Km, 1557m ascent, 9 hours. Maps.me says 15km, 1600m ascent, 8.5 hours. It took us 7.5 hours (not including 45 min of going the wrong way). We met a german guy and a guide in Congon that did it in 5 hours but they were walking really fast.
Remember to stock up on self-congratulatory candy treats


Walking to the trailhead

One of the other online guides tells you to walk downhill to the river. DO NOT DO THIS. We wasted 45 minutes going the wrong way.
If you're looking out of the Hospedaje at the blue building, take a left and walk up the road. Follow the road for 1 km or so until you reach the part of the road that is submerged in water. There is a bridge for pedestrians so you don't have to walk through the water.

Start Climbing
You'll see a steep trail of red dirt leading up to a house. Follow this.
After 10 minutes you'll come to another house. There are two small dogs that will make a big commotion but just ignore them.
You will get wet, you will stay wet. The trail is narrow and there are wet plants all along that will constantly rub water on you. It's unavoidable.
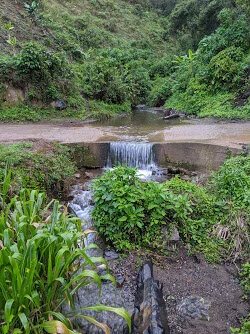
There are a couple of tough stream crossings where you have to cross on slippery rocks or slippery logs.
You'll go up and down a few times before reaching an intersection where you follow a stream and there's a bridge on your right. The owner has gated this so you can't accidentally wander onto his property.


This marks the start of the endless uphill. Take a break because the next few hours are tough.
Note that the trail on Maps.me is inaccurate about 20 minutes after this point. Just keep following the trail even if you're off the Maps.me map.

The upper trail doesn’t exist and the bottom trail is not a dead end
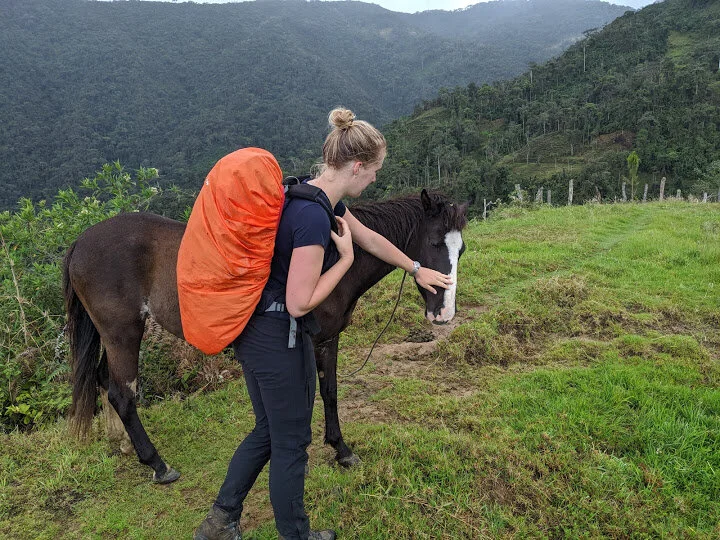
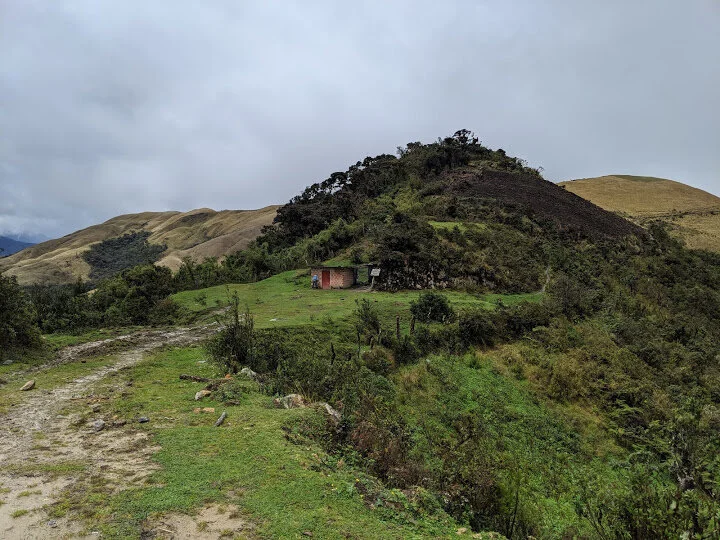
Eventually, you'll summit at Lanche. There are two houses, a donkey, a horse, and two protective but timid dogs. There's a great view from this summit but don't take a break here. There's a shelter another 5 minutes up.


The shelter is a great place to stop for lunch but it is very cold up and rainy here


After this, the climb is even harder. The altitude, steep incline, and tiredness got to me and I slowed down a lot. After another hour of hiking, there are a few flat meadows that give a nice but temporary reprieve from the climb.
You'll hit the Piedras Blancas a little after and the mud will turn grey. Then you've got a beautiful waterfall. Here's the last rest point before you start the final ascent.


It's steep, it's muddy, it's the final 200m of vertical ascent. Do what you got to do to get through it.


Congratulations! You're at the top! Take a break and eat a candy bar because now you need to go back down. It's cold here, but there is a shelter.


Day 3 part 2: Get to your hospedaje
Hopefully, you find a car that's willing to give you a ride because otherwise, you've got another 2 hours of walking to Choctomal. You can walk the 11km along the road hoping to catch a ride or 8km along a trail that goes down. Luckily, the tour that picked up the german guy was kind enough to give us a ride to Nuevo Tingo.


Nuevo Tingo is a lovely small town. There are a TON of hospedajes here and they are more luxurious than anywhere else I've stayed. This town was clearly built up to support the tourism industry for Kuélap. However, we were there on a Friday and it was completely empty. We didn't see another tourist in town.
We decided to splurge and get a place with hot showers because we deserved it. Fuck yeah!


Day 4: Kuélap
We decided to be lazy and sleep in and not hike the Kuélap ascent. Everyone we talked to about the hike said it sucks and from the Gondola you can see why. It's steep, there's no shade, there's little foliage until you get to the top, and you have to descend into the valley before heading back up the other side.


The gondola is pretty cool though expensive. You get to see great views of the valley and mountains. Total cost for gondola and Kuélap entrance is 50 soles per person.


The top of Kuélap was really rainy and really windy. Bring a rain jacket or poncho.


It's very easy to find a colectivo back to Chachapoyas (7 soles). They'll be waiting outside the Gondola entrance

Final Notes
I hope you found this guide useful as you plan your own Gran Vilaya Trek. It’s a hard couple of days but the scenery and nature make it completely worth it. There’s nothing quite like stopping and listening to the sounds of the rainforest.
Thanks for reading!
